Banana Bread! (eggfree, glutenfree)

It took social distancing and Covid19 to get me blogging again I guess. Trying not to waste and we live in banana land! So, off I went, scrolling for recipes that are gluten free, egg free, corn free and use bananas. None of the recipes suited me. Im not a fan of powder egg replacer or flax egg. Both banana and chickpea flour can be used as egg replacer right? So. Time to make my own recipe. I will spare you all the details. There was Bread 1, 2 and 3. In the end bread 3 won hands down and this is what Im sharing with you today 🙂

Dont be afraid to experiment, so many recipes call for things we may not have at home. Half the recipe here is bananas anyway so dont stress to much if you add or remove or adjust elsewhere!

You need:

  • 5 Bananas (bananas here are pretty small so you can absolutely use less if you have big ones)
  • 3 tbsp sugar or other sweetener.
  • 1dl chickpea flour
  • 1.5 dl gf flour blend (switch the half for gf oats if you prefer)
  • 1 dl milk
  • 1 tbsp baking powder
  • Cinnamon, to taste. I used about half a tbsp
  • OPTIONAL extra – seeds, gf oats, raisins, whatever you like. Ive done batches with raisins and seeds on top and some with oats inside and all of it works! You dont need any of it, but you can absolutely use your imagination here. Perhaps chocolate chips?

Mash your bananas well. In all my version the bread that turned out the best I used my electric whisk to get all the banana lumps out and the bread turned out the fluffiest, so mash a bit, then get that whisk out!

Add all other ingredients and mix well. Yes, you can do it in any order you like, its absolutely ok!

The bananas make this cake (hateword number 1) moist enough on its own, so I added no oil to the batter. I did put some oil on my parchment paper though.

Pop it all in a bread tin and place in a 185 degree (pre heated) oven for 45 minutes.

Hot tip, banana bread is BETTER the day after you make it. If you absolutely cant wait though, at least let it cool down before you cut it. All my banana breads end up looking a little burnt, I think its just the caramelising of the bananas? They dont taste burnt 🙂

Enjoy!

On a Pancake mission – Day 3

Its ok that day 3 is almost a year later right? 😀

My sister in law sent me some links to recipes using chick pea water instead of eggs. Pretty cool right? Im sure you have seen some floating around also. Of course being me, I didn’t save any of the recipes she sent me, but who needs a recipe right? I made my own.

This is a small batch (will feed 2-3), double the amounts of flour and milk for a larger batch.

You will need:

  • 1.5 dl gluten free flour
  • 1 tsp baking powder
  • a pinch of salt
  • 1-2 tablespoons of sugar
  • 1.5dl milk
  • 1 egg – or in this case, the “juice” from 1 jar of chick peas.

I used an electric whisk to combine it all and fried my pancakes in butter.

These pancakes were easy to fry, again, careful with the heat, they burn pretty easy! Taste wise they taste like the real thing! Daughter gave them a 5/5 and a visitor (not GF or Egg free) said they taste like pancakes! Cant get much better then that! I really liked these, not doughy at all. My favourite so far!

You cant taste the chickpea juice at all.

Dont forget to “like” GlutenFree & Me on Facebook!


Glutenfree / Eggfree cupcakes

I use my own blog when I bake because I rarely save or write down recipes. Then the other day, I wanted to bake cupcakes, and I couldn’t find the recipe on the blog! HOW did I not share this with you all?

Its my base cake recipe that I tweak and change as needed and use for everything!

These cupcakes are egg free and you do not need an egg replacer 🙂 I use schär universal mix which is their corn free flour, so the end result is gluten free, egg free and corn free 🙂 You can easily do then dairy free or lactose free also 🙂

You need:

3dl gf flour
2dl sugar
2teaspoons vanilla sugar
2teaspoons baking powder
2dl water
50g butter or substitute

Mix all dry ingreds in a bowl. Melt butter, dont let it cool. Add water to butter and add the liquid to dry stuff. Whisk on high til smooth.

Put in 12 cupcake liners or in 1 large cake tin.

Bake at 225 degrees celsius for 10 minutes for cupcakes and 175 degrees celsius for 40 minutes for large cake.

I skipped the vanilla and added 2 tablespoons of coco powder. Try with cinnamon for Christmas!!

Enjoy!

Crazy about Dahl

I have a thing about dahl lately. My kids have a thing about dahl lately too! Sons thing is eating 2-3 bowls of it in one sitting, and daughters thing is refusing to eat any at all. Ho hum, you cant win them all.

Did you know you can make kick ass awesome dahl without having a cupboard full of fancy spices?

Let me teach you my base dahl, then you can play around with it and create your own version.

You will need: (No measurements, sorry, I suck, I know!)

  • Lentils
  • 1 onion
  • 3 garlic cloves
  • tumeric
  • fresh ginger
  • 1-2 tomatoes
  • 1 lemon or lime
  • chilli – optional

for different variations you can add spinnach, chickpeas, paprika, different coloured lentils, carrots…. the sky is the limit 🙂

So, you need lentils. For a starter outer I suggest red lentils. Wash them well and pop them in a large saucepan with water. Id say 2 cups of lentils and 4 of water, add more water if needed. Add about half a teaspoon of tumeric. Bring to a boil and turn the heat down. Red lentils are pretty fast so you can start prepping your other stuff almost straight away.

Finely chop your onion, if you have a kid who thinks onion is poisonous like me, then you can puree the onion in a mini chopper. Its magic. I do this all the time and point blank lie. Works a treat.

Mince your garlic (one of them garlic press majiggys is perfect).

Slice or chop a small amount of chilli, I use red for more colour but use such a minute amount it really doesn’t give much spice at all.  Add the chilli to your garlic pile.

Grate or slice some fresh ginger. I always keep mine in the freezer, so its easy to scrape off the amount I need with a sharp knife. Add the ginger to your garlic and chilli pile.

Cube your tomato. Some say to take the peel off, I dont bother.

Once your lentils are close to done then continue with these final steps.

Add your oil of choice to a frying pan, I use extra virgin olive oil, over low to medium heat fry the onions taking care to not burn them or let them go brown. You want them soft. This will take about 4 minutes. Then add your garlic, chilli, ginger pile. Take extra care now to not let this burn, burnt garlic is not nice.

Once your lentils are done, add all your goodness from your frying pan in to the lentils and also add your tomato. Add salt and squeeze half a lemon or lime in to your dahl.

I like to add a few leaves of baby spinach, it gives such awesome colour.

Once you graduate from this dahl you can start using more grownup lentils and spices if you like 🙂 The one pictured has baby spinach and the lentils are brown and red mix. YUM!

I serve mine with a naughty blob of butter 🙂 You can make it less liquidy and eat it with rice too.

Swedish Coconut Balls!

Yes, I know, this recipe starts out with you doing a double take and going, “coconut balls?????”

All Swedish kids grew up with coconut balls, its not something parents generally make, instead the kids do it, its an activity and a sweet treat all in one. Although in Swedish, kokos bollar doesnt sound so, eeehm…. wrong? lol

Once upon a time some people called this something else that is very very racist, those people are now being told to say chocolate balls instead. Im not sure what all the hu haa is about to begin with, I have always said coconut balls as have most my friends and family. So coconut balls is what you will call them as well 🙂

This recipe will not work if you cant tolerate oats. Make sure you buy proper glutenfree oats and not any old oats, as normal oats can contain a fair amount of gluten.

You will need:

  • 100g butter, room temperature
  • 1.5 dl sugar
  • 3 tablespoons coco powder
  • 1 teaspoon vanilla sugar (scrap this if you dont have it)
  • 2 tablespoons strong coffee (or water if you dont want to risk making the kids hyper)
  • 5 dl GF oats
  • desiccated coconut, for rolling the balls

The rest is really very simple. Add all the ingredients in a bowl and get your kids to mix it.

Really really mix it, squish, sqash, knead, bash….. until its all mixed. Then roll the mix in to small balls which you then roll in coconut. Once done, refrigerate. Then eat. Or eat as you make it. With a spoon. Then you can skip the coconut too 😛

For a healthier version play around with it, add some coconut oil, chia seeds, less sugar etc. The possibilities are endless.

Enjoy!

Bone Broth vs Stock

I see a gazillion people out there asking about the difference between broth and stock, and another gazillion who think its the same thing. It is, and yet its absolutely not.

See, they both do the same thing in terms of taste and flavour, but thats where the similarities end.

A stock and a broth start out the same way, but where as you would finish off a stock just a few short hours later, the broth keeps going for a day or even two to get all the valuable nutrients out of the bone and in to the broth. Stock is great to flavour soups and sauces, broth can be used in the same way, but oh my goodness (pun intended) the nutrient value is just oh so much better.

Can you buy broth? Not really unless you find a stall that sells it, most broth you find in a supermarket etc is actually stock. I used to make all my own stock anyway, so taking that extra step to make broth was not a big deal at all. The only adjustment I made was investing in a slow cooker, Im just not comfortable leaving stuff on the stove while I sleep or when I leave the house. A slow cooker is a safer option (in my head at least).

There are probably as many versions of stock / broth recipes out there as there are personalities, but here is my version!

In to a large pot or slow cooker, put:

  • 1 good quality chicken, organic if you can get it, if not, at the very least get free range.
  • 2 small onions, no need to chop, just slice in half
  • 3 carrots, if organic, don’t bother peeling, just wash and pop the whole thing in (if not organic, peel and trim the top and bottom off).
  • 3 stalks of celery, if organic, pop in as is, if not , trim top and bottom off.
  • 1 parsnip. Im not a huge fan of parsnip, so I add only one, you can add two, but be aware if you add 3 the broth will taste of parsnip.
  • 3-4 garlic cloves (optional). No need to even peel, just plop them in the pot.
  • a good amount of good quality salt, I use himalayan pink salt, use whatever you usually use, if you are a “normal table salt” user, take some time to investigate the health benefits of a good quality salt. You will thank me for it. I promise.
  • Black pepper, yum. It needs it, add a good amount.
  • Add enough water to cover your chicken.

NOTE: You are supposed to add 2 tablespoons of apple cider vinegar to help the bones release their nutrients, I don’t always bother doing this with chicken, but for other bone broths you should absolutely do this and let the bones sit in the cold water with the vinegar and bits in for about 30 minutes before turning on the heat.

Set your slow cooker on high, or if in a large pot on stove, bring to a boil. If your chicken is good quality there shouldn’t be much scummy stuff to remove, but look out for it and spoon off as needed (Scummy stuff looks like dirty dishwater, browny bubbly stuff, its the impurities leaving the chicken). Once this is done you can lower the heat if its a pot on the stove, leave a slow cooker on high.

Slow cooker version:

After about 4 hours, remove the chicken from the pot and take the meat off. Add all the bones and bits back to the pot. At this point I also like to taste test and add more salt and pepper if needed. Lower slow cooker temp to low. Add more water as needed. Then give your broth another 12-24 hours. Keep an eye on it and add more water as needed. Once done, strain the bits out and discard (I use a rice strainer for this). If you want to remove the fat you can let it cool in fridge and then remove the fatty top layer. I leave mine in and freeze in small portions.

Stove top version:

After about 1-2 hours, remove your chicken from the pot and take the meat off. Add all the bones and bits back to the pot. At this point I also like to taste test and add more salt and pepper if needed. Make sure your broth is at a very gentle simmer, on my cooker lvl 2-3 is perfect. Add more water as needed. Give your broth another 12-24 hours. Keep an eye on it and add more water as needed. If you need to go out for say 2-3 hours, you can turn the heat off and turn it back on once you return. If you sleep with the cooker going, make sure you add water before bed, and please be careful.

Once your broth is done, strain the bits out and discard (I use a rice strainer for this). If you want to remove the fat you can let it cool in fridge and then remove the fatty top layer. I leave mine in and freeze in small portions.

For stock:

Boil for 2-3 hours only after removing the meat. This is insanely good still, its just not broth.

How to use it:

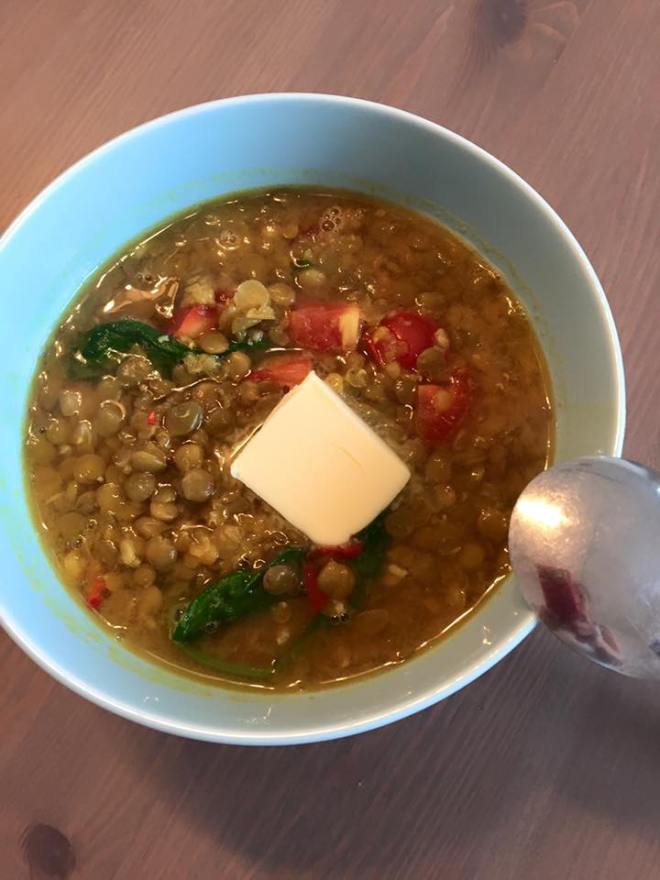
Regardless of if its stock or broth you made, you can use it the same way. I add it to anything I can think of! I use it to boil my quinoa and millet, I use it to make sauces and obviously soups. I also drink it in a cup in the evenings, and its actually delicious! Add a spoon of tumeric for even more health benefits.

Variations:

Use beef, pork or lamb bones (pre roast for yummy flavour). Boil these for 24-48 hours. After discarding the bits you can save the bones and use them for a second batch!

Add herbs, ginger, and other flavourings.

Always use good quality bones, you don’t want the hormone fed on antibiotics standing in the dark animal bones, you want the happy kind, from animals who roam free and eat grass the way nature intended.

Happy brothing!

IMG_8111

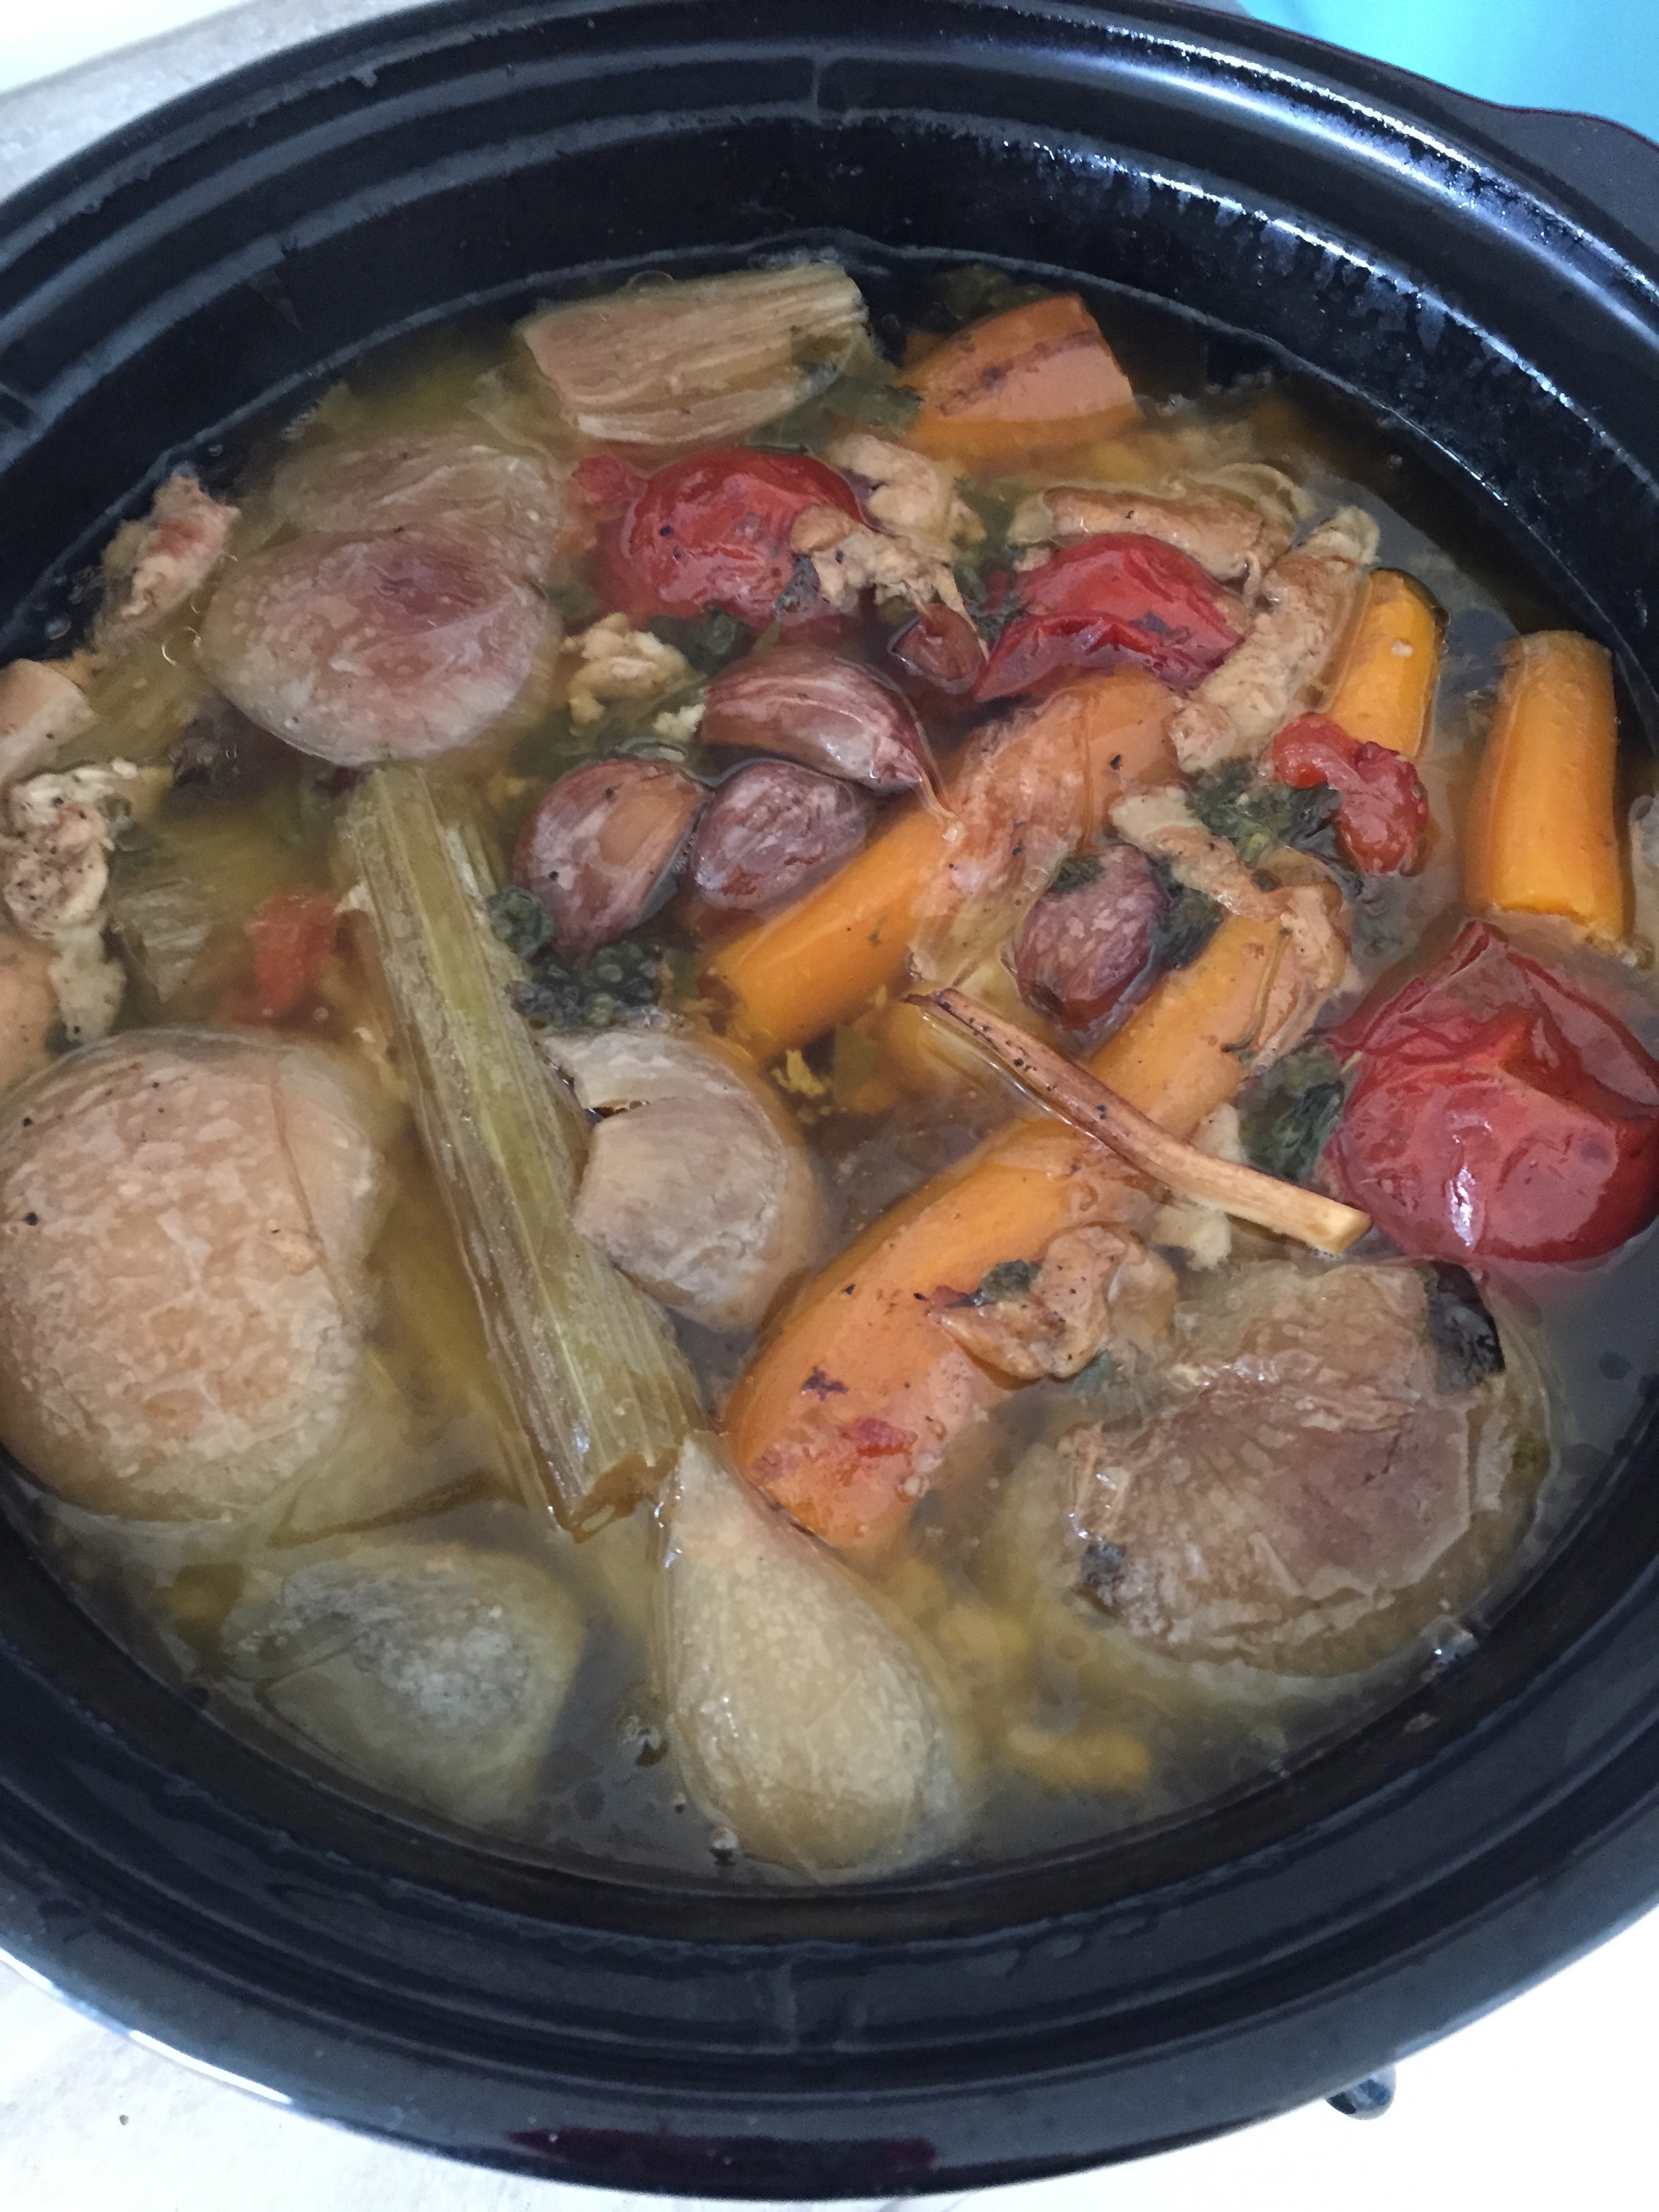
I added tomatoes in the one above to see how it would affect the flavour, pretty nice 🙂

Like this post? Come like my facebook page!

Zucchini Fritters

Im back on LCHF. Because you know… Im getting a bit to blobby. Yesterday I had SUCH bad cravings for crisps or popcorn and sweets and, well, pretty much anything non LCHF. So Pinterest to the rescue (again) and I found some zucchini fritters. Hurraaah. I had what I needed in the fridge! So, 1 zucchini got itself sliced and 1 chunk of parmesan got itself mini choppered in to a powder and in the oven it went. and about 10 minutes later I had this AWESOME snack in my mouth, and the kids LOVED it which is always a bonus when you have kids, so Im totally doing this again. Forgot to take photo of finished product because piggy here had to eat them straight away. Ha.

So easy. Slice zucchini, add grated parmesan (I salted and peppered my parmesan to add flavour), add some evoo and pop in a hot oven for 5-10 minutes. Thin slices = crispy yummy zucchini thingies, thicker slices = softer and SO delicious! Originally saw this on pinterest here zucchini fritters,  if you search zucchini fritters or baked zucchini on pinterest, you will see HUNDREDS 🙂 -Linda

On a pancake mission – day 2

Ok, nobody tell anyone its been like a week since the last pancake.

Today again I searched and found lots of different egg free pancakes, I wanted one without an egg replaces such as chia or banana or apple sauce, because sometimes, we just dont have all that stuff lying around. I found a few recipes and modified them to make them suit me and obviously make them gluten free.

This one was awesome, but I can imagine the flour is the make or break here, I had to adjust the amount of liquid a few times until I was satisfied, but do note, the batter will be super thick. As the baking powder sits and does its thing, you may even need some more liquid towards the end.

  • 3dl all purpose gf flour (I used a cake one as they are less dense, you may be able to use a bread flour, but start off with a bit less)
  • 4dl milk (I used lactose free)
  • 1tbsp (yup, a WHOLE tablespoon, no joke) baking powder
  • 1tbsp sugar (I tried without this at first, but they kindof need it, try honey if you are a no sugar kindof person)
  • 1 pinch of salt
  • butter or oil for frying, plus a big dollop (about 2tbsp) for the batter

Mix all ingredients together, I never faff around with dry first or whathave you, just whack it in a bowl and blitz with an electric whisk. Like I said, this batter will be thick, its normal, it needs to be.

Start of with a pretty hot pan and lower to medium after the first pancake. Turn each pancake once edges are solid and it almost stopped bubbling.

Verdict: Celiac kiddo loved these, she says they are even better then the previous one which she gave a 5/5. She also says Im a super hero at pancakes and if there was olympics in pancake making I would win (GOD I love my kids!) Big brother says they are super super yummy. He gives them 5/5, he says they were pretty much equally good to the other ones. I also tried even though Im back on a strict low carb diet, and I must say I was pleasantly surprised! You actually can make pancakes without egg and gluten and make them taste like the real thing. My only critique would that they are a tad doughey in the middle. Next time I will try adding some flavour to these, I think they would be great with some chocolate chips or blueberries! I give them a 4/5 and thats comparing them to a pancake with egg! So not bad at all.

Linda

Dont forget to “like” GlutenFree & Me on Facebook!

Christmas is approaching, FUDGE TIME!

7 of December, and I was done with ALL my gifts over a week ago. First time ever! Usually Im running around like a headless chicken until hours before getting myself together. But no. This year, I am calm, organised and dare I say a perfect little wife. Tree is up, decorations are up, kids are watching the Elf movie and here we go. Bliss. Or…. boredom…?

I decided today is the day I will make christmas sweets. last time I made Christmas sweets I was probably 16. It was the one thing I always did at Christmas as a kid. Time to revive this tradition. Only obviously now, gluten free. Or maybe they always were? I remember things dipped in chocolate and fudge and ginger biscuits.

I am going easy on myself, starting with fudge 🙂

You will need;

  • 3 dl sugar
  • 2dl heavy (whipping) cream
  • 1/2 dl coco powder (make sure its gluten free as many are not!)
  • 50g butter
  • vanilla sugar or essence, or if you dont have, scrap it!
  • chopped nuts or seeds. (OPTIONAL)

Im going bare, no vanilla essence or nuts in my fudge. I like it plain.

In a pan with a thick bottom, add your sugar and cream and stir. Bring to a boil and lower the heat. You want it to continue to bubble, but not rapidly. The temperature needs to get to 122 degrees apparently, but a meat thermometer will NOT work. I do it the Swedish way and do “kulprovet”. This means you drop a small amount of liquid in a glass of cold water, when the liquid balls together to a lump and you can easily mould it with your fingers, its ready. This took around 15 minutes. Add your coco powder and stir until there are no lumps. Turn your heat off and stir in the butter (this is where you add your vanilla and nuts if using). DO NOT TASTE THE MIXTURE. Its hotter then hot and your tongue will be on fire for the rest of the day. Trust me.

Pour the mix in to your pan of choice that you prepared earlier. I lined mine with parchment paper, but you can use butter or oil if you like. The bigger your dish/pan, the thinner your fudge.

Leave it to cool. You can leave it out or pop in the fridge, up to you. Once its cool, take it out and cut in to squares on a chopping board.

Eat!

Store in fridge and eat within 2 weeks.

Linda

There are many versions of fudge. Some like it grainier, some like it chewier. Cook longer for less chew and more grain. Mess about with it, try adding the chocolate at the start, try it without butter 🙂 Anything goes in chocolatey gooey fudge world 🙂

Check out my pinterest Christmas board for more gf goodies!


Beef in paprika and tomato sauce

Another quick and easy staple dinner recipe. Change it up using different veggies.

I used:

  • half an onion (I have kids remember! Use more if you like)
  • 1 green paprika
  • beef, I used two nice steaks and cut them, but you can buy the ready made stroganoff pieces if you like. (NOT braising beef as it takes ages)
  • passata, I used about 250g

If you are serving this with rice then the sauce takes about the same time as a pot of basmati rice to cook, so get the rice going then make the sauce 🙂

Frying pan on hot, add olive oil (extra virgin obviously, never fry in any other olive oil) then pop the beef in (don’t wait to heat the olive oil as it ruins the oils flavour). Add salt & pepper. Once the beef has sealed (that means its gone a nice brown on all sides) add your onions and paprika and turn the heat down to medium. Once the onion has gone soft add your passata and a teeny bit of water, if you like you can add half a stock cube at this point, I usually do, but no need. If you do, make sure its organic and gluten free!

Simmer the sauce until the paprika is soft but not soggy, if you have that rice going then the sauce should be done around the time you drain the rice 🙂

The kids eat this with Rice, I eat mine with some cabbage, or on its own to make it LCHF.

Enjoy 🙂

Linda